
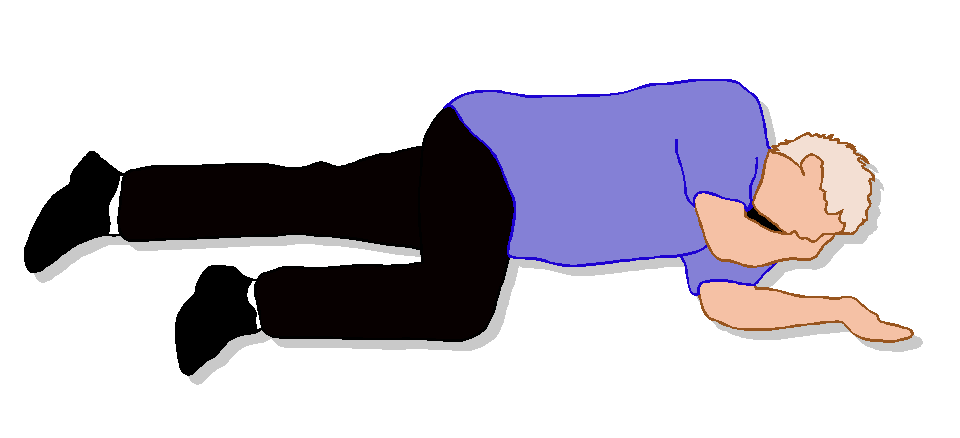
How to put someone in the recovery position
The recovery position is an easy way to be able to put someone on their side if you’re on your own. There are a few stages to it but it’s not difficult. This is the description from the Resuscitation Council from the new guidelines published on the 15th October 2015:-
If you are certain the victim is breathing normally but is still unresponsive, place in the recovery position
- Remove the victim’s glasses, if worn
- Kneel beside the victim and make sure that both his legs are straight
- Place the arm nearest to you out at right angles to his body, elbow bent with the hand palm-up
- Bring the far arm across the chest, and hold the back of the hand against the victim’s cheek nearest to you
- With your other hand, grasp the far leg just above the knee and pull it up, keeping the foot on the ground
- Keeping his hand pressed against his cheek, pull on the far leg to roll the victim towards you on to his side
- Adjust the upper leg so that both the hip and knee are bent at right angles
- Tilt the head back to make sure that the airway remains open
- If necessary, adjust the hand under the cheek to keep the head tilted and facing downwards to allow liquid material to drain from the mouth
- Check breathing regularly
Be prepared to restart CPR immediately if the victim deteriorates or stops breathing normally
There is also a useful video here from the BHF which goes through the steps slowly and shows what we’re trying to achieve with the airway. If you prefer something more interactive you could try the Lifesaver app where you can practise, however, nothing beats a face to face course. I include the recovery position in all my courses and you can find details of those here. I also offer classes for clubs and charities and children’s groups, please contact me if you would like more details.
Recent Comments